
Boom Mat Speaker Baffle Installation
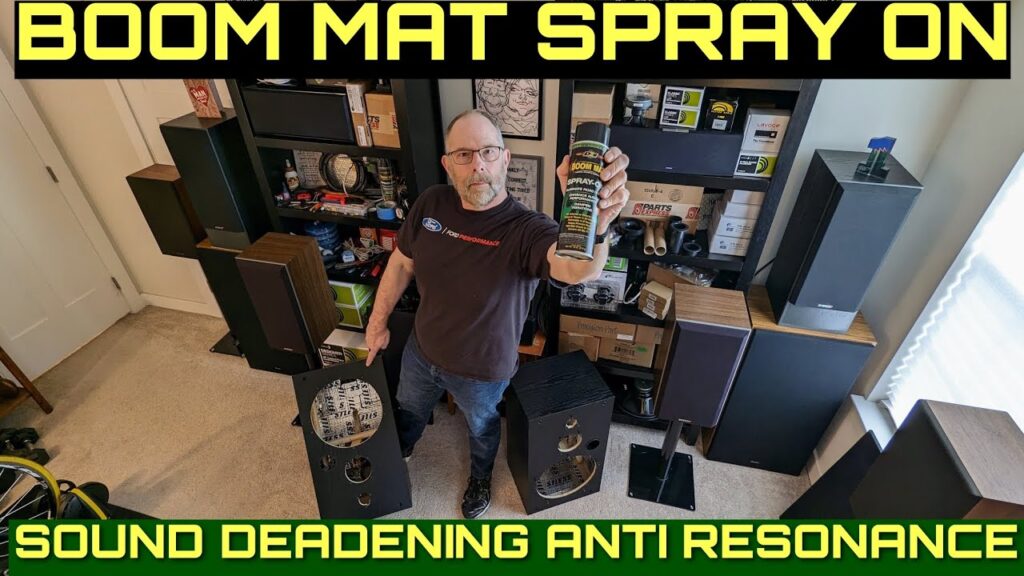
Installing high-quality speakers in a vehicle can significantly enhance the listening experience, but proper installation is key to unlocking optimal sound performance.
The Boom Mat Speaker Baffle plays a crucial role in reducing vibrations, minimizing sound distortion, and creating a sealed environment for speakers. Designed to fit snugly between the speaker and mounting surface, these baffles help direct sound into the cabin instead of allowing it to escape into door cavities.
Made from dense, acoustically safe materials, Boom Mat baffles also dampen unwanted resonance. This guide walks through the installation process, offering practical steps to ensure a clean, effective setup that maximizes audio clarity and speaker efficiency in any car audio upgrade project.
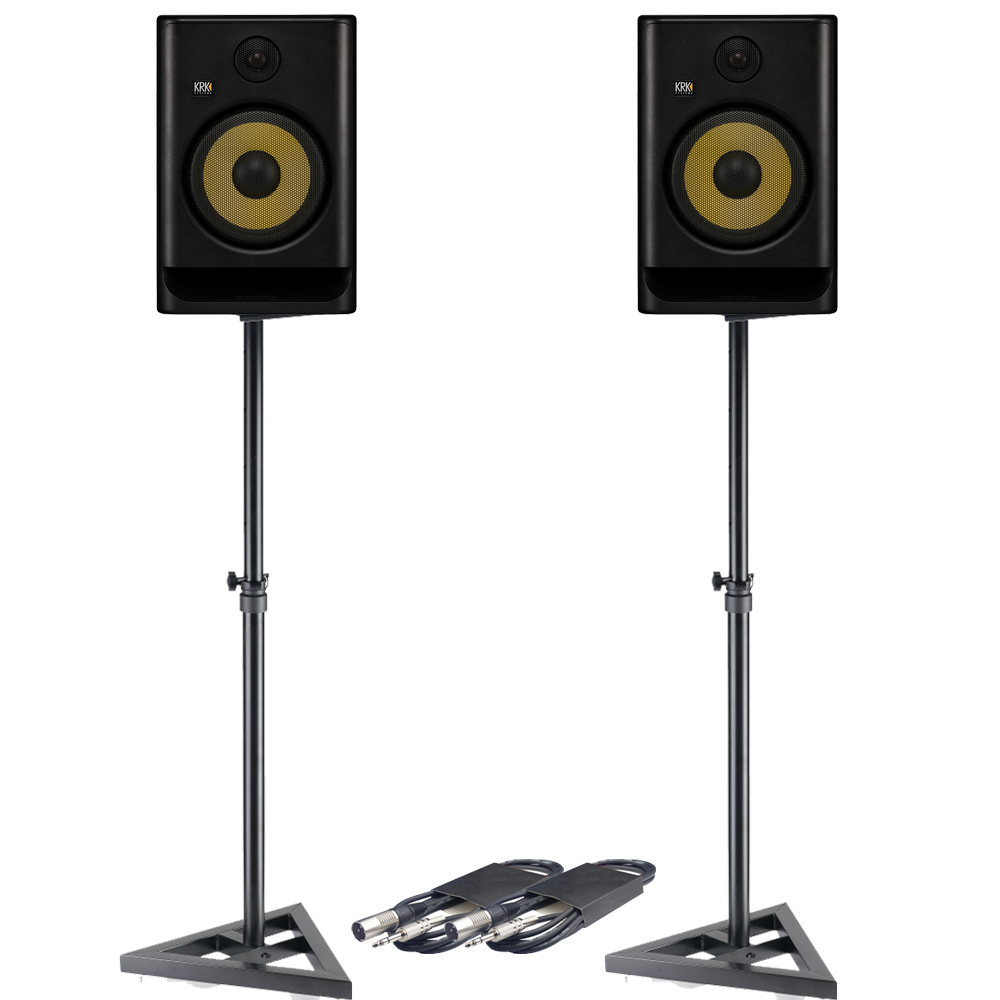
 Affordable Studio Monitor Speakers
Understanding Boom Mat Speaker Baffle Installation for Optimal Audio Performance
Installing a speaker baffle using boom mat material is a critical step in maximizing the acoustic performance of car audio systems. A speaker baffle serves as a structural and sealing platform that ensures the sound from the front of the speaker is fully separated from the backwave, preventing sound cancellation and enhancing clarity.
Boom mat, also known as sound damping or butyl rubber insulation, is commonly used to create a solid, vibration-resistant surface when constructing a custom speaker baffle. This is particularly important when installing aftermarket speakers in factory door panels, which often lack the rigidity and proper sealing required for high-quality sound reproduction.
By applying boom mat to the mounting surface, installers can eliminate panel flex, reduce resonance, and create an airtight seal around the speaker basket. This process not only improves bass response and overall sound definition but also protects the speaker from environmental factors such as moisture and dust. When done correctly, boom mat speaker baffle installation results in a tighter, more dynamic audio experience within the vehicle’s cabin.
What Is a Speaker Baffle and Why It Matters
A speaker baffle is a flat or contoured surface to which a speaker is mounted, designed to prevent sound waves from the front and rear of the speaker cone from interfering with each other.
 Balanced Studio Monitor Cables
Without a proper baffle, low-frequency cancellation occurs because the out-of-phase sound waves from the back of the driver combine with those from the front, causing distortion and reduced bass output. In automotive applications, factory door panels are rarely designed as ideal baffles—they are often thin, flexible, and full of openings that allow air leakage and panel resonance.
Utilizing a boom mat speaker baffle transforms this weak mounting surface into a rigid, sealed platform that enhances the speaker’s efficiency. The damping properties of boom mat absorb vibrations that would otherwise color the audio, resulting in cleaner, more accurate sound reproduction across all frequencies.
Step-by-Step Process for Installing a Boom Mat Speaker Baffle
To install a boom mat speaker baffle, begin by thoroughly cleaning the speaker mounting area on the vehicle’s door or panel to ensure proper adhesion. Next, measure and cut the boom mat sheet to cover the entire speaker mounting zone, including areas around the cutout.
Press the boom mat firmly onto the surface, ensuring there are no air pockets or gaps—this layer acts as both a dampener and a foundation. For additional rigidity, some installers add a secondary layer of MDF or ABS plastic over the boom mat, which is then shaped to fit the speaker perfectly.
 Balanced Trs Cables For Studio Monitors
The speaker is mounted onto this composite surface, creating a solid, non-resonant enclosure that mimics the performance of a custom-built speaker box. Proper sealant around the edges further enhances the airtight seal, minimizing acoustic leaks and maximizing speaker output, especially in the lower frequency range.
Materials and Tools Needed for Effective Installation
A successful boom mat speaker baffle installation requires specific materials and tools to ensure precision and durability. Essential materials include high-quality boom mat sheets, which typically come in 18x36 sizes with a peel-and-stick adhesive backing, as well as a rigid backing material like MDF board or ABS plastic for added structural support.
Tools required include a measuring tape, utility knife or rotary tool for cutting, a heat gun (to help conform boom mat around curves), socket set or screwdrivers for speaker removal and installation, and adhesive sealant for sealing joints. Safety equipment such as gloves and a mask should be used when cutting or heating materials. Below is a reference table summarizing the key components:
| Item | Purpose | Recommendation |
|---|---|---|
| Boom Mat Sheets | Sound damping and vibration control | Use 80–100 mil thickness for best results |
| MDF or ABS Board | Rigid speaker mounting surface | 3/8 to 1/2 thick, cut to match speaker location |
| Heat Gun | Conform boom mat around curves and edges | Prevents wrinkles and ensures full adhesion |
| Sealant (Acoustic Caulk) | Creates airtight seal around baffle edges | Use non-hardening type for longevity |
| Utility Knife / Rotary Tool | Cutting materials to size | Ensure precise fit and clean edges |
Step-by-Step Guide to Boom Mat Speaker Baffle Installation
Where is the optimal placement for open baffle speakers when installing Boom Mat Speaker Baffles?
Room Positioning for Balanced Sound Distribution
To achieve optimal audio performance from open baffle speakers installed with Boom Mat Speaker Baffles, careful attention must be given to their placement within the room. Open baffle speakers radiate sound from both the front and rear of the driver, creating a dipole sound field that interacts strongly with room boundaries.
 Behringer Truth B2031a Studio Monitors
Positioning the speakers too close to walls or corners can lead to excessive bass reinforcement or phase cancellation, especially in the lower frequencies. Ideally, the speakers should be placed away from rear and side walls to allow proper wavefront development and minimize early reflections.
- Begin by placing the speakers at least 2 to 3 feet from the rear wall to reduce bass buildup and improve clarity in the midrange and lower frequencies.
- Ensure the speakers are positioned symmetrically within the room, forming an equilateral triangle with the primary listening position to maintain stereo imaging accuracy.
- Elevate the speakers so that the tweeters are at ear level when seated, enhancing high-frequency detail and ensuring a coherent soundstage.
Mounting Height and Angling Considerations
The vertical placement and orientation of open baffle speakers play a significant role in sound quality, especially when using Boom Mat Speaker Baffles, which are designed to reduce vibrations and improve acoustic clarity.
Since open baffle designs often lack enclosures that direct sound forward, the angle and height at which the speaker is mounted can dramatically affect how sound reaches the listener. Incorrect angling may result in a disjointed soundstage or frequency imbalances, particularly in tweeter and midrange output.
- Mount the speakers at a height where the acoustic axis aligns with the listener's ears, usually between 36 to 42 inches from the floor for seated positions.
- Angle the speakers slightly inward (toe-in) so that the sound waves from each speaker converge at the listening position, improving stereo focus and imaging precision.
- Avoid excessive toe-in, as this can narrow the soundstage; instead, adjust incrementally to find the best balance between clarity and spatial width.
Interaction with Acoustic Treatment and Room Geometry
The effectiveness of open baffle speakers combined with Boom Mat Speaker Baffles is highly dependent on the room's acoustic properties. Unlike sealed or ported enclosures, open baffle designs are more sensitive to room modes and reflective surfaces due to their figure-eight radiation pattern.
 Best 8 Inch Studio Monitor
Reflections off nearby surfaces can interfere with the direct sound, leading to comb filtering or muddiness, particularly in untreated spaces. Strategic placement in conjunction with room treatment helps mitigate these issues.
- Position the speakers in areas with minimal first reflection points, or install acoustic panels on side walls, ceiling, and floor to absorb or diffuse early reflections.
- Avoid placing the speakers in corners or near large, flat walls that can cause standing waves; instead, favor open areas where sound can radiate freely and decay naturally.
- Use bass traps in room corners if low-frequency issues persist, as open baffle speakers may still excite room resonances despite their reduced backwave energy.
Frequently Asked Questions
What is a Boom Mat Speaker Baffle?
A Boom Mat Speaker Baffle is a sound-dampening material installed behind car speakers to reduce vibrations and road noise. It improves audio clarity by creating a sealed backbox, enhancing bass response and overall sound quality. Typically made from butyl rubber or similar dense materials, it adheres directly to the door panel or mounting surface for maximum effectiveness.
How Does Boom Mat Improve Speaker Performance?
Boom Mat improves speaker performance by minimizing panel vibrations and resonance in car doors or enclosures. This damping effect prevents sound distortion and increases clarity. By sealing the back of the speaker, it also creates a more controlled acoustic environment, improving bass response and overall efficiency. The result is cleaner, louder, and more accurate audio output from your car audio system.
Can I Install Boom Mat Speaker Baffles Myself?
Yes, you can install Boom Mat Speaker Baffles yourself with basic tools and minimal experience. Clean the surface first, then cut the mat to fit the speaker location. Peel and stick it evenly over the metal area behind the speaker. Apply firm pressure to ensure adhesion. Most installations take under an hour and significantly enhance sound quality without professional help.
 Best Budget Studio Monitors 2025
Where Should Boom Mat Be Applied for Best Results?
For best results, apply Boom Mat on the inner metal surface of car doors, behind speaker locations, and on any large metal panels that can resonate. Cover as much area as possible around the speaker mounting zone. You can also use it on the trunk, floor, and rear deck. This maximizes noise reduction and improves the acoustic environment for superior speaker performance.
Leave a Reply