
Sonance Outdoor Speakers How To Connect

Connecting Sonance outdoor speakers properly ensures high-quality sound performance and long-term durability in any outdoor audio setup. Whether for a patio, garden, or poolside installation, understanding the correct wiring, impedance matching, and amplifier compatibility is essential.
This guide provides step-by-step instructions on how to connect Sonance outdoor speakers efficiently, covering speaker placement, cable selection, weatherproofing techniques, and integration with audio sources.
Proper connections not only enhance audio clarity but also protect equipment from environmental damage. By following best practices in setup and configuration, users can achieve seamless, immersive sound experiences outdoors while maintaining system reliability and performance across seasons.
 How To Connect 2 Boom Speakers
How to Connect Sonance Outdoor Speakers: A Comprehensive Guide
Connecting Sonance outdoor speakers properly ensures superior sound quality and seamless integration with your audio system.
Whether you're upgrading your backyard entertainment setup or installing speakers for the first time, understanding the correct wiring, amplifier compatibility, and connection methods is essential.
Sonance outdoor speakers are designed for durability and performance in various weather conditions, but their audio performance relies heavily on correct installation and pairing with compatible equipment. This guide walks you through the critical steps and considerations to effectively connect your Sonance outdoor speakers for optimal results.
Selecting the Right Amplifier or Receiver
Choosing a compatible amplifier or AV receiver is the first and most critical step in connecting your Sonance outdoor speakers. These speakers typically have an impedance of 8 ohms and sensitivity ranging from 87 to 91 dB, making them compatible with most standard home audio receivers.
 Xbox One How To Connect Speakers
However, if you're covering a large outdoor area or planning high-volume listening, consider a dedicated amplifier with robust power output (50–150 watts per channel) to maintain clarity and prevent distortion.
Ensure your amplifier has enough channels to support all your speakers and offers protection features such as thermal and short-circuit protection, which are vital for outdoor use. Always consult the impedance matching specifications of both the speakers and amplifier to avoid damaging either component.
Wiring and Cable Recommendations
Proper wiring is essential for both performance and longevity of your Sonance outdoor speakers. Use 14-gauge or 12-gauge stranded copper speaker wire for runs longer than 50 feet to minimize signal loss and ensure consistent power delivery.
For outdoor installations, always choose UV-resistant, weather-rated cable designed to withstand moisture, temperature changes, and direct sunlight. Bury in-ground cables in conduit to protect them from damage, and seal all connections with waterproof wire nuts or irrigation tape.
 X Rocker Gaming Chair With Speakers How To Connect
Keep wire runs as short and direct as possible to reduce resistance, and avoid running speaker cables near power lines to prevent electrical interference. Proper labeling of each speaker wire at both ends simplifies connection and future troubleshooting.
Connecting to Your Audio Source
Once your speakers and amplifier are in place, securely connect the speakers using the correct polarity—match the positive (+) terminal on the amplifier to the positive terminal on the speaker, and the same for the negative (−) terminals.
Sonance speakers typically feature spring-clip or binding-post terminals, with binding posts offering a more secure and reliable connection for outdoor setups. If using a multi-zone amplifier, configure your zones appropriately so you can control the outdoor speakers independently. Test the system at low volume first to confirm proper sound output from each speaker, then fine-tune the speaker placement and volume balance across the area.
For smart integration, consider pairing the system with an audio distribution amplifier or a whole-home audio controller like Sonos Amp (if compatible) for wireless streaming and app-based control.
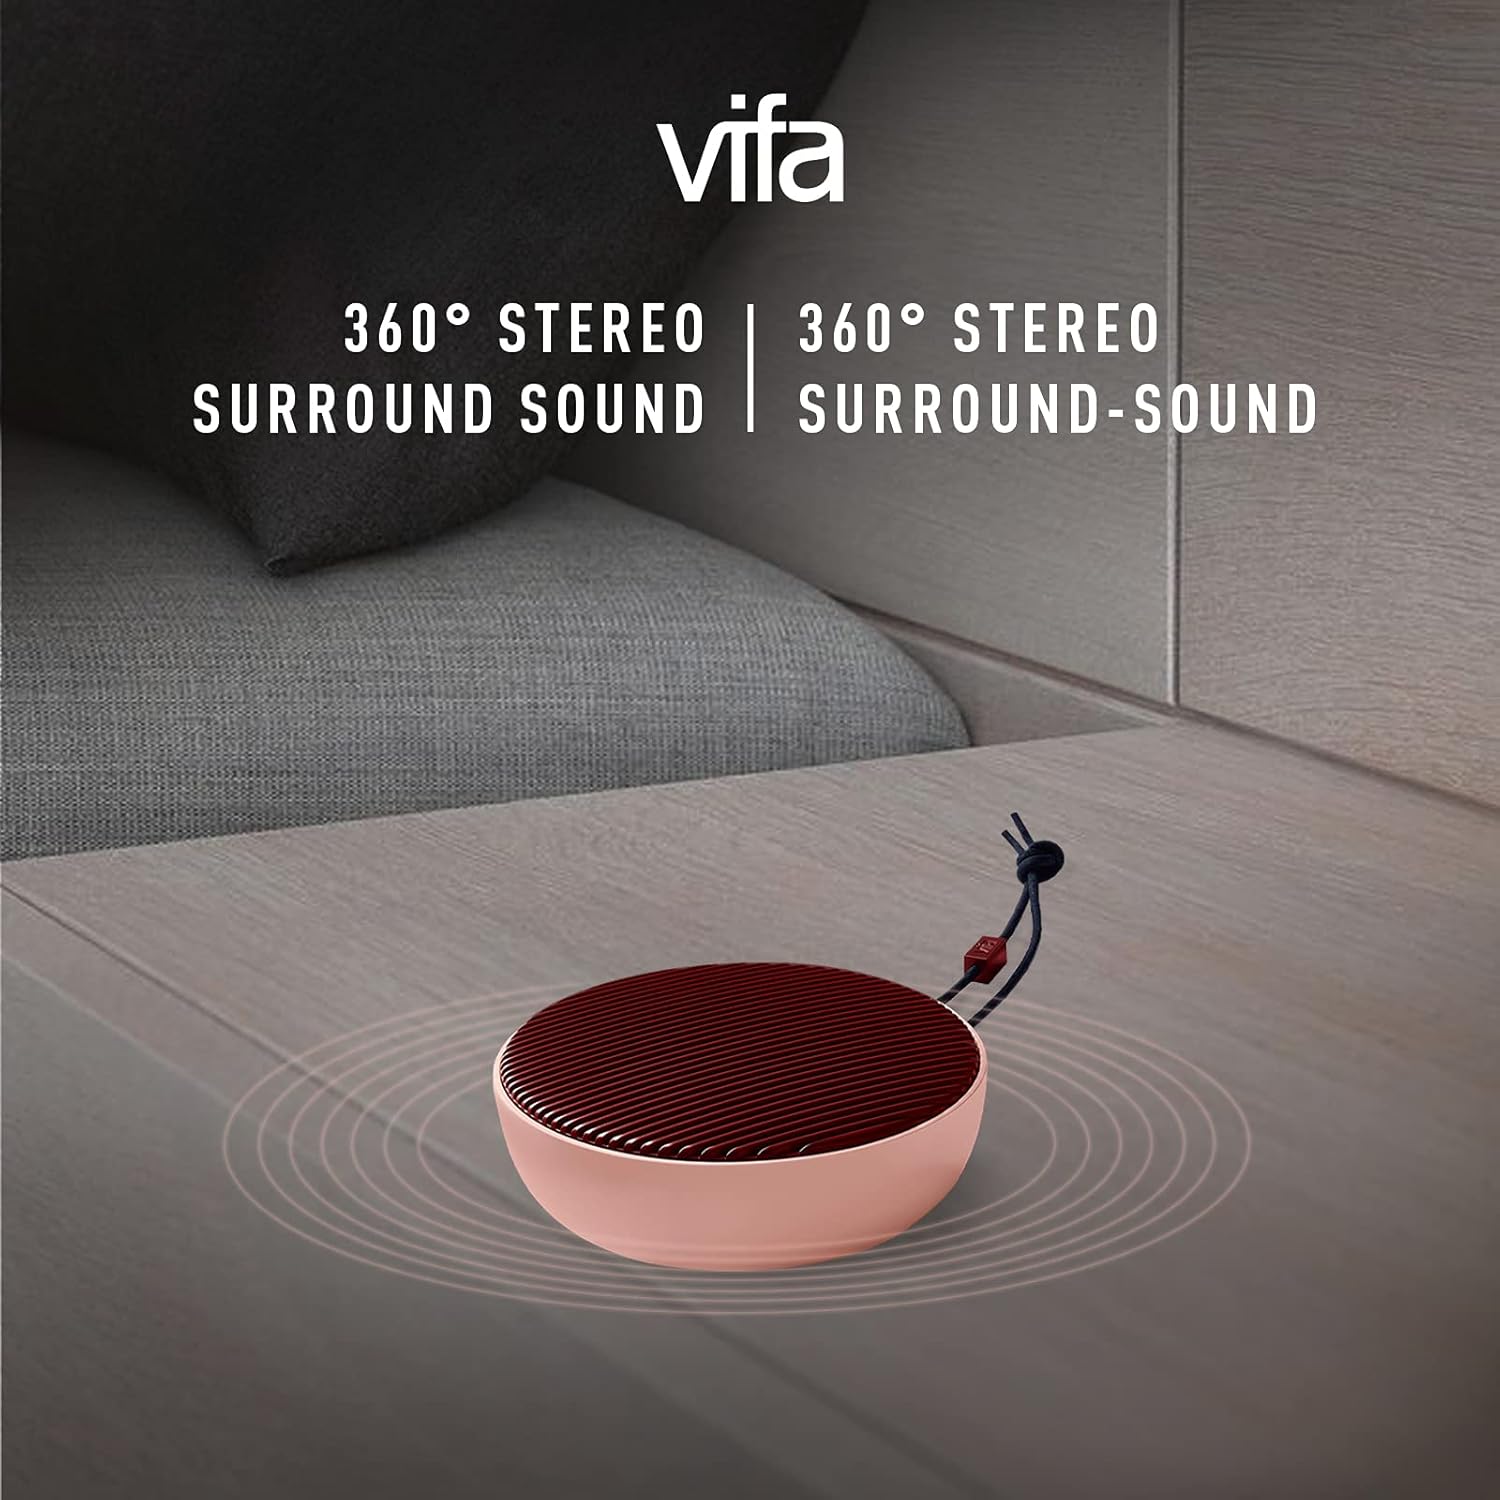 Vifa Speakers How To Connect
| Component | Recommended Specification | Key Notes |
|---|---|---|
| Amplifier Power | 50–150 watts per channel | Ensure clean power delivery and match impedance (8 ohms) |
| Speaker Wire Gauge | 14 AWG (up to 50 ft), 12 AWG (over 50 ft) | Use stranded, oxygen-free copper and UV-resistant jacketing |
| Connections | Banana plugs or stripped wire to binding posts | Always maintain correct polarity (+/-) to prevent phase issues |
| Outdoor Protection | Conduit for buried cables, sealed connections | Prevents moisture ingress and physical damage |
| Audio Source | AV receiver, multi-zone amp, or Sonos Amp | Enables wireless control and multi-room audio |
How to Connect Sonance Outdoor Speakers: A Step-by-Step Installation Guide
How to Connect Sonance Outdoor Speakers: Step-by-Step Guide

Selecting the Right Location and Mounting the Speakers
- Begin by identifying optimal placement zones in your outdoor space—typically near patios, decks, or garden areas—where sound distribution is even and exposure to weather is minimized. Avoid placing speakers directly under eaves that may drip water or in low-lying spots prone to moisture accumulation.
- Determine whether you're using surface-mounted, in-wall, or in-ground Sonance models. For surface-mounted speakers like the Sonance Landscape Series, use the included mounting brackets and ensure they are secured to a stable structure such as a fence post, exterior wall, or deck railing using weather-resistant screws.
- For in-wall or in-ground installations, carefully cut openings following the template provided in the speaker manual. Use silicone sealant around the edges to prevent water intrusion and ensure the speaker is angled slightly toward the listening area for optimal sound projection.
Running Speaker Wire and Making Electrical Connections
- Use outdoor-rated speaker wire, typically 14- or 16-gauge, to ensure durability and minimal signal loss over longer distances. Plan the wire path from your audio source or amplifier to each speaker location, avoiding sharp bends and potential hazards like sprinkler lines or foot traffic areas.
- Bury the cable if running it underground—use a conduit for added protection against moisture and rodents. If running wire along walls or fences, use UV-resistant wire clips to secure the cable while maintaining some slack for temperature expansion.
- At each speaker, strip about half an inch of insulation from the wire ends. Attach the positive wire (usually marked with a stripe or + symbol) to the positive terminal on the speaker and the negative wire to the negative terminal. Use banana plugs, spade connectors, or bare wire depending on your speaker’s terminal type, and tighten securely to avoid loose connections.
Connecting to an Amplifier and System Configuration
- Route the speaker wires back to your indoor or outdoor-rated amplifier or receiver, ensuring the amplifier’s power output matches the Sonance speaker’s impedance (usually 8 ohms) and power handling specifications to prevent damage.
- Connect each speaker set to its designated output channel on the amplifier, keeping polarity consistent across all speakers. For multi-zone setups, use a multi-channel amp or a Sonance Sonamp to independently control volume and audio sources in different areas.
- Power on the system and test each speaker individually using a test tone or familiar audio track. Adjust the amplifier settings such as gain, balance, and crossover frequencies if applicable to tailor the sound for outdoor acoustics, which typically require slightly higher volume and bass compensation due to open-space sound dispersion.
How to connect Sonance outdoor speakers: What equipment and steps are required?

Selecting the Right Equipment for Sonance Outdoor Speakers
To successfully connect Sonance outdoor speakers, choosing compatible and suitable equipment is crucial. Sonance outdoor speakers require a reliable audio source, a proper amplifier or AV receiver, weather-resistant cables, and possibly a surge protector for outdoor installations.
It's essential to verify that your AV receiver or amplifier can handle the impedance (usually 8 ohms) and power handling specifications of the Sonance speakers to prevent distortion or damage. Additionally, use oxygen-free copper speaker wire with a gauge appropriate for the distance—typically 14-gauge wire for runs over 50 feet. If integrating into a multi-zone setup, consider a multi-room audio system or impedance-matching volume controls.
 USB Speakers For PC How To Connect
- Determine the power output and impedance compatibility between your receiver and Sonance speakers
- Choose a weather-resistant amplifier or receiver if placed outdoors, or install it indoors with outdoor-rated wiring
- Use UL-rated, direct-burial or outdoor-rated speaker wire (e.g., 14 or 12 gauge) to ensure durability and safety
- Consider installing a surge protector to guard against electrical spikes, especially in areas prone to lightning
- Add volume controls or a distribution amplifier if running multiple speaker pairs across zones
Planning the Speaker Placement and Wiring Route
Proper placement and wiring layout significantly affect both audio performance and the longevity of Sonance outdoor speakers. Begin by mapping out your outdoor space, identifying optimal locations that provide even sound coverage while avoiding obstacles that could block audio dispersion.
Speakers should be positioned at ear level when seated or standing in key areas such as patios, decks, or poolside. Take into account the manufacturer’s recommendation for spacing—typically 10 to 20 feet apart depending on model and output. Plan the wiring path from the amplifier to each speaker, choosing the most direct yet concealed route, possibly using trenches for burial or conduit for added protection. Avoid running cables near electrical lines to prevent interference.
- Sketch a layout of your outdoor area and mark ideal speaker locations for balanced sound coverage
- Ensure speakers are angled slightly toward primary listening zones for optimal clarity
- Determine whether wires will be surface-mounted or buried; if buried, use direct-burial-rated cable or run standard cables through PVC conduit
- Measure total cable length needed and purchase extra (10–15%) for slack and future adjustments
- Route cables away from power lines and irrigation systems to avoid interference and physical damage
Connecting and Testing the Sonance Outdoor Speaker System
Once equipment and wiring are ready, proceed with connecting the speakers to the audio source while following proper polarity and connection techniques.
Start at the amplifier or receiver, matching the positive (+) terminal on the amp to the positive terminal on the speaker, and the same for negative (–). Use wire strippers to expose about 1/2 inch of conductor and securely attach the wires using binding posts, spring clips, or banana plugs if supported.
 UE Boom How To Connect 2 Speakers
If connecting multiple speakers, use proper wiring methods such as parallel connections to maintain consistent impedance. After all speakers are connected, double-check all terminations, ensure no stray strands cause short circuits, then power on the system. Play audio at a low volume initially and test each speaker individually. Listen for clarity, volume balance, and any distortion.
- Strip speaker wire ends evenly and twist strands to prevent fraying before connecting
- Attach wires firmly to terminals, ensuring + to + and – to – to maintain proper phase alignment
- For multi-speaker setups, wire in parallel if impedance stays above the amplifier’s minimum (e.g., >4 ohms)
- Power on the amplifier and play a test track, gradually increasing volume to assess performance
- Adjust speaker positions or amplifier settings if sound imbalance or distortion is detected
How to connect Sonance outdoor speakers: A complete setup guide
To connect Sonance outdoor speakers successfully, begin by assessing your audio system requirements and speaker placement. Sonance outdoor speakers are designed for durability and high-quality sound dispersion in open environments, so proper setup is essential for optimal performance. Start by selecting an amplifier or receiver that matches the impedance (typically 8 ohms) and power handling (wattage) of your Sonance speakers.
Ensure the amplifier has enough channels to support the number of speakers you plan to install. Run speaker wire from the audio source to each speaker location using weather-resistant, high-quality CL3/CL2 rated cable designed for outdoor use. It's recommended to use direct burial cable if trenches are involved or conduit for added protection.
Strip about ½ inch of insulation from the wire ends and connect them to the speaker terminals by matching positive (+) and negative (–) leads. Use wire nuts or crimp connectors to secure connections and protect them from moisture. Finally, test the system at low volume first to confirm proper phase alignment and sound quality before full operation.
Selecting the Right Amplifier or Receiver
- Choose an amplifier or AV receiver that supports the impedance range of your Sonance outdoor speakers, typically 8 ohms, to prevent overloading and ensure clean power delivery.
- Calculate the total number of speakers and their combined power requirements (RMS wattage) to confirm the amplifier can handle the load across all zones.
- Consider using a dedicated outdoor audio amplifier with built-in weather protection and support for multiple zones if you plan to cover large or complex outdoor areas.
Planning Speaker Placement and Wiring Route
- Determine optimal speaker locations by considering listening zones, such as patios, decks, or pool areas, and position speakers at ear level when seated for even sound coverage.
- Use landscaping features like trees, fences, or columns to conceal speakers and blend them naturally into the environment while maintaining directional sound focus.
- Map out the wiring path from the amplifier to each speaker, measuring the total wire length per run and adding extra length for adjustments, while avoiding proximity to electrical lines to reduce signal interference.
Connecting and Securing Weather-Resistant Wiring
- Use CL3-rated speaker wire, which is designed for direct burial and outdoor exposure, to ensure reliability and safety when running cables underground or along exterior walls.
- When connecting wires to the speaker terminals, twist the exposed copper strands tightly, match polarities correctly, and use weatherproof wire connectors or silicone-filled butt connectors to prevent corrosion.
- Protect wire junctions with weatherproof enclosures and seal entry points through walls with outdoor-rated caulk or grommets to keep moisture and pests out of the system.
How to Connect Sonance Outdoor Speakers Without a Receiver?

Using a Bluetooth Amplifier for Wireless Connectivity
- One of the most effective ways to power Sonance outdoor speakers without a traditional receiver is by using a Bluetooth amplifier. These amplifiers accept wireless audio input via Bluetooth from smartphones, tablets, or computers, then amplify the signal to drive passive speakers like Sonance models.
- Begin by selecting a weather-resistant or indoor-rated Bluetooth amplifier, depending on where it will be installed. Ensure the amplifier's power output (watts per channel) matches or is slightly below the Sonance speaker’s recommended power range to avoid damage.
- Connect the Sonance speakers to the amplifier using standard speaker wire, matching positive (+) and negative (-) terminals. Once wired, pair your audio source to the amplifier via Bluetooth and adjust volume through either the amplifier’s knob or the source device.
Integrating an AV Preamp or Streaming Device with External Amplification
- When a receiver isn't available, you can use a streaming preamp or network audio player (like Sonos Amp, Bluesound Node, or similar) as a source component. These devices decode digital audio streams and output a line-level signal to an external amplifier.
- Connect the preamp’s audio output (RCA or balanced) to the input of a compatible outdoor amplifier. Then, wire the Sonance speakers to the amplifier’s speaker terminals using appropriate gauge wire for long outdoor runs, typically 14 or 12 AWG.
- This setup allows advanced features such as multi-room audio, app-based control, and integration with streaming services. The preamp handles source selection and digital processing, while the external amplifier provides the necessary power to drive the Sonance speakers effectively.
Powering Speakers with a Dedicated Outdoor Amplifier and Direct Source
- For a permanent outdoor audio solution, install a dedicated outdoor-rated amplifier near the Sonance speakers. These amplifiers are designed to withstand moisture and temperature fluctuations common in exterior environments.
- Connect a direct audio source such as a CD player, MP3 player, or media server to the amplifier using RCA cables. Alternatively, use a device with a 3.5mm aux output connected via an adapter to RCA if the amplifier lacks a 3.5mm input.
- Once the source is connected and the speakers are wired to the amplifier’s output terminals, test the system at low volume to ensure proper phasing and sound distribution. This method bypasses the need for a receiver entirely by combining a standalone amplifier with a simple audio input source.
Frequently Asked Questions
How do I connect Sonance outdoor speakers to my audio receiver?
Connect Sonance outdoor speakers to your audio receiver using speaker wire attached to the receiver’s speaker outputs and the corresponding terminals on the speakers. Ensure your receiver supports the impedance (ohms) of the Sonance speakers, typically 8 ohms. Strip about 1/2 inch of insulation from the wire ends, insert them into the terminals, and tighten securely. Match polarity (positive to positive, negative to negative) to ensure proper sound alignment.
Can Sonance outdoor speakers be connected to a smart home system?
Yes, Sonance outdoor speakers can connect to a smart home system when paired with a compatible AV receiver or amplifier that supports smart integration, such as those with Alexa, Google Assistant, or Apple AirPlay 2. Use your smart system to stream music wirelessly to the receiver, which then powers the speakers. Direct wireless connection to the speakers isn't standard, so a hub or receiver is required for full smart functionality.
Do Sonance outdoor speakers require special wiring for outdoor use?
Yes, Sonance outdoor speakers should be connected with weather-resistant, in-wall/outdoor-rated speaker wire, such as CL3/UF cable. This type of wire is designed to withstand moisture, temperature changes, and UV exposure when run through walls, underground, or exposed to the elements. Using proper wiring prevents degradation over time and ensures optimal signal transmission and long-term performance in outdoor environments.
Can I connect multiple Sonance outdoor speakers together?
Yes, you can connect multiple Sonance outdoor speakers using parallel or series wiring, depending on your amplifier’s capacity and the speakers’ impedance. For parallel connections, ensure your amplifier can handle lower impedance loads. Use proper gauge wire to maintain signal quality over long runs. Consult your amplifier’s manual and Sonance installation guide to avoid overloading the system and ensure balanced audio performance across all speakers.
Leave a Reply